


Print ready artwork is the foundation of a clean and professional custom sign. When your file is set up correctly, the printing process runs smoothly and your sign looks sharp, bright and accurate.
This guide explains how to prepare print ready artwork for any type of sign, even if you are new to design.
Understand the Type of Sign You Are Ordering
Different sign materials need slightly different artwork setups.
For example-
- Corflute signs are popular for events and real estate, and you can view options here.
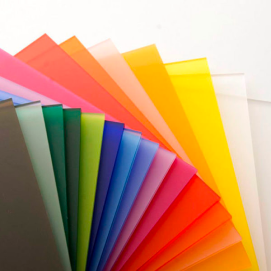
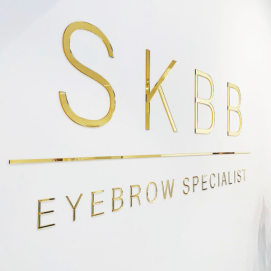
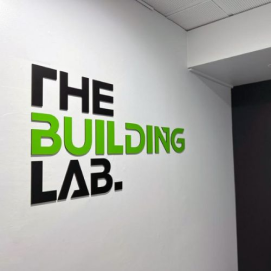
- Acrylic signage is often used for offices, branding displays and modern shop interiors, and you can check the acrylic range here.
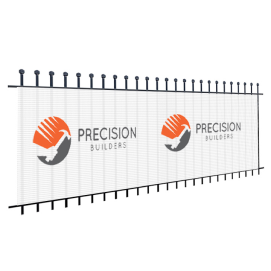
- Vinyl banners are ideal for large, flexible displays and outdoor promotions. Explore vinyl banners here.
- ACM panels are strong and weather resistant and work well for long term outdoor signage. You can view ACM options here.
Knowing which sign you are designing for helps you choose the right size, proportions and resolution.
Use the Correct File Format
Print ready artwork should always be supplied in a high resolution format. The best options are
- EPS
- AI
- High resolution PNG
- High resolution JPG
PDF is usually the most reliable because it holds your colours, fonts and layout correctly.
Set Your Artwork to the Correct Size
Your artwork should match the exact size of the sign you are ordering. If your sign will be 600 mm by 900 mm, your artwork must be set to the same size. Setting your print ready artwork to the correct size ensures nothing stretches or crops during printing.
If you are unsure which size works best, the product pages provide clear measurements for each sign type. For example, vinyl banners offer a wide range of size options so you can design accurately from the start.
Add Bleed to Your Design
Bleed is extra space added around the edges of your artwork to prevent white borders or gaps after trimming. Most signs need at least 3 to 5 mm of bleed on every side. Adding bleed to your print ready artwork helps prevent white edges after trimming.
A simple way to check – If your artwork is 600 mm by 900 mm, your final file including bleed might be 606 mm by 906 mm.
Use High Resolution Images and Graphics
Blurry images can ruin an otherwise great sign.
Aim for
- 300 dpi for small to medium signs
- 150 dpi or higher for very large signs such as vinyl banners
If you are using product photos or logos, make sure they are high resolution and not screenshots.
Convert Text to Outlines
If your artwork uses custom fonts, you should convert all text to outlines. This prevents font changes or spacing issues during printing.
In most design programs this takes one click and ensures your text stays exactly as designed.
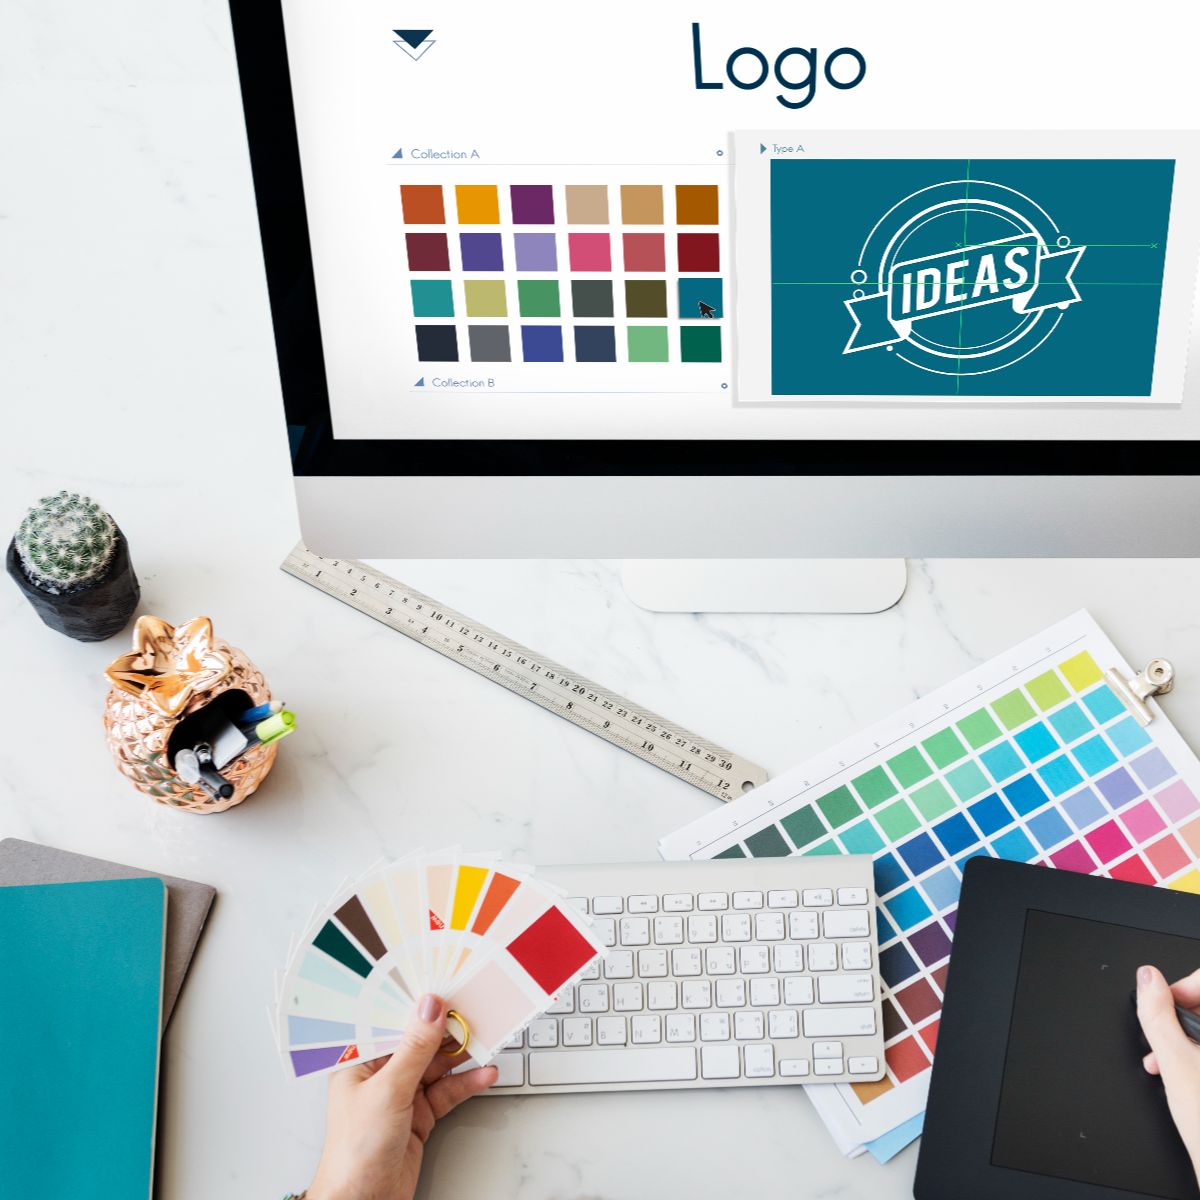
Choose CMYK Colour Mode
Printers use CMYK colours, not RGB. If your file is designed in RGB, colours may print differently from what you see on your screen. Before exporting your file, change the colour mode to CMYK so your sign prints accurately.
Adobe explains the difference between RGB and CMYK in more detail here.
Keep Important Details Inside the Safe Zone
Anything important such as logos, phone numbers or website addresses must be kept away from the outer edges of your sign. This safe zone protects your design from trimming variations.
A general guide – Keep key text and graphics at least 10 to 15 mm inside the edge of the artwork.
Check Spelling and Contact Details
Simple errors are surprisingly common. Before uploading your artwork, check
- Spelling
- Phone numbers
- Website links
- Social handles
- Dates or event details
A quick proofread helps avoid costly reprints.
Upload Your Artwork During Checkout
Once your artwork is ready, you can upload it during checkout on the Just Signage Online website. The team will review your file before production and contact you if anything needs adjusting.
If you are ordering corflute signs, acrylic signage, vinyl banners or ACM panels, the file upload process is the same and allows you to attach your final print ready file with ease.
Create Signage That Prints Clearly Every Time
Preparing print ready artwork is easier than most people expect. When you match your sign size, add bleed, use high resolution images and export in a strong file format, your final sign will print clearly and professionally.
If you need custom signage for events, shopfronts, offices or outdoor promotions, the Just Signage Online product range makes it simple to upload your artwork and order exactly what you need.
Explore the full range of signage materials and start your design today.